
 Share Now
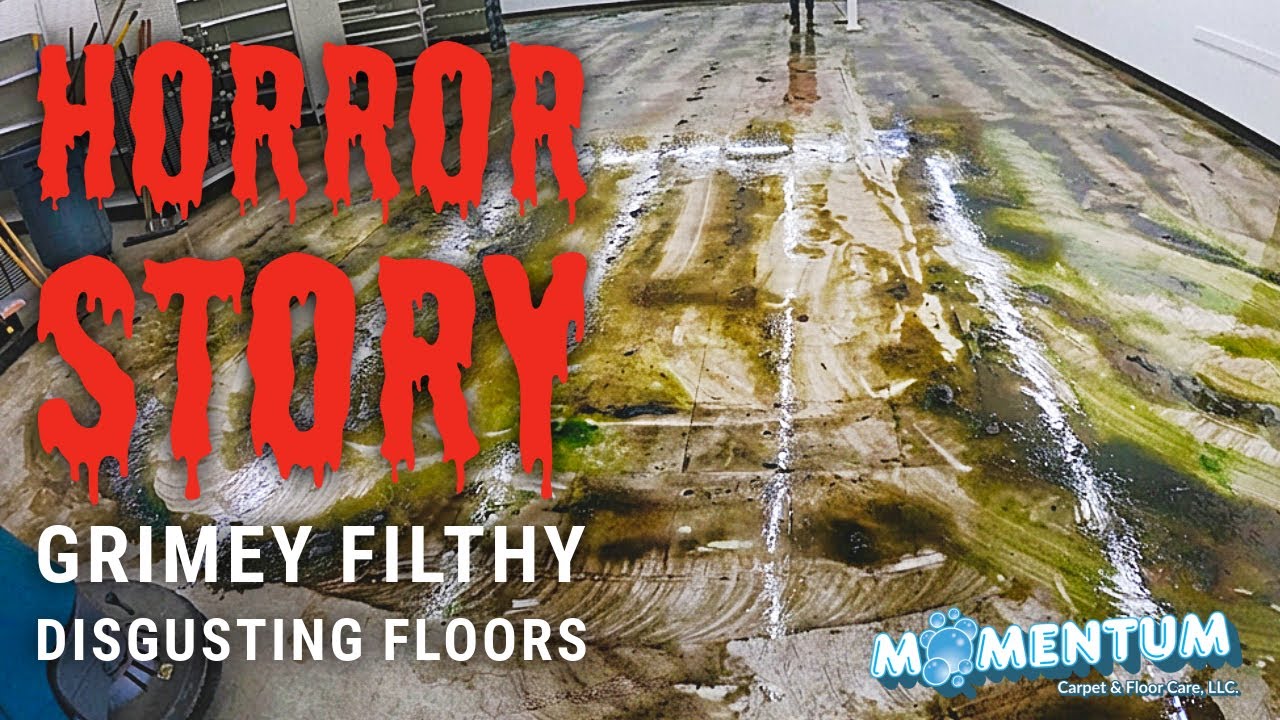
VCT Stripping Waxing: Dollar Dealz 1901 West Camelback Road Phoenix, AZ 85015
Section Title
Cleaning Service
- Stripping and Waxing Floors
Benefits of Cleaning Service
-
 Momentum Carpet & Floor Care, LLC. Stripping Waxing Floors Step-by-Step Process
-
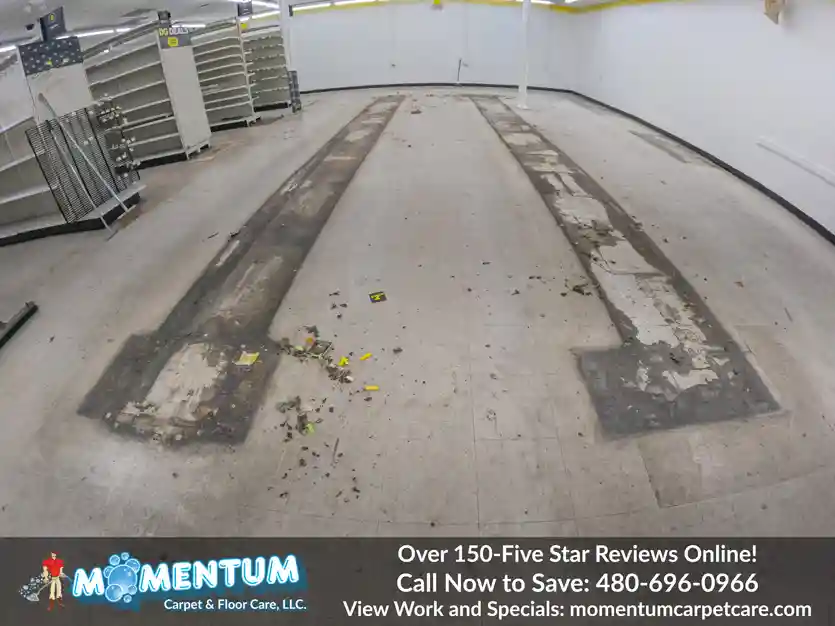
Step 1: Prepare the Area: Clear the space of furniture and obstacles, using caution signs to ensure safety. Establish an exit route and use mats to prevent contamination. Dust mop to remove debris.
-
Step 2: Prepare Stripping Materials: Line a bucket with plastic to hold stripper and review Safety Data Sheets. Mix solution according to product instructions and wear protective gear.
-
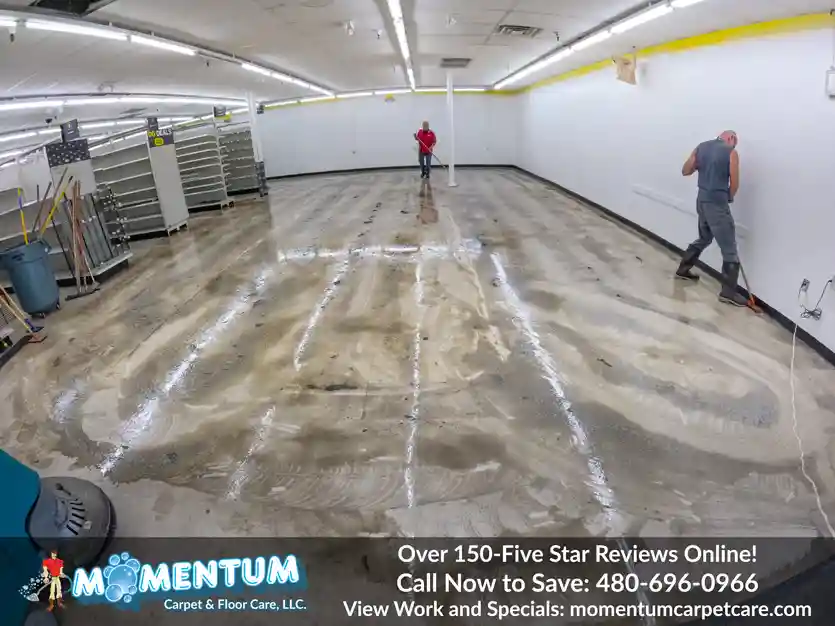
Step 3: Apply Stripping Solution: Apply the solution generously and let it sit for about 10 minutes. Use a floor buffer or auto scrubber to strip the old finish, ensuring to recover the solution effectively.
-
Step 4: Pick Up Dirty Solution: Use an auto scrubber to recover all solution after scrubbing, or a wet recovery vacuum with a buffer. Promptly collect to prevent drying.
-
Step 5: Rinse and Dry the Floor: Rinse with clean water mixed with neutralizer to neutralize the stripper, ensuring proper pH before applying new finish. Clean baseboards and rinse multiple times.
-
Step 6: Apply Floor Sealer: After stripping the floors, apply a floor sealer to prevent wax absorption. Use two coats compatible with your flooring to maintain tile and laminate integrity for smooth wax application.
-
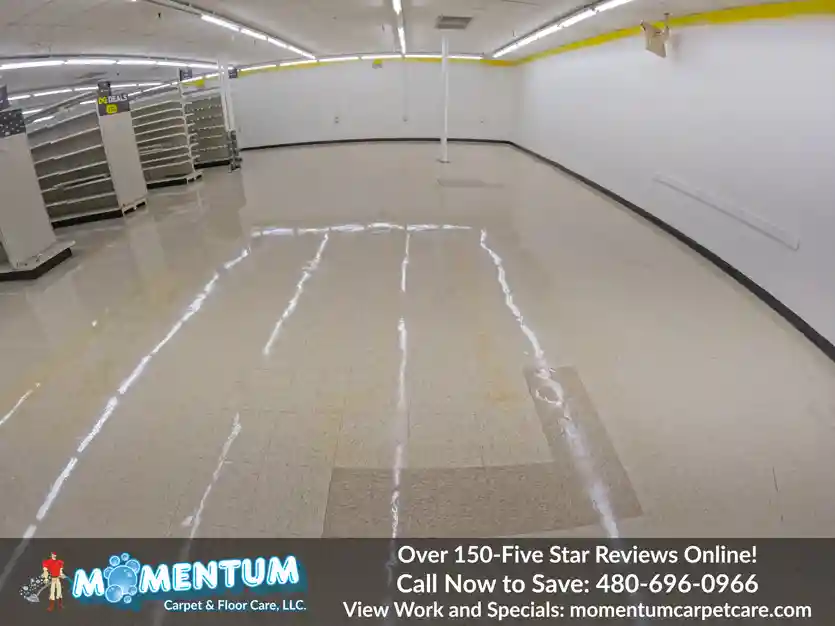
Step 7: Apply Floor Wax: Next, apply a wax that matches your flooring. For durability, apply four to ten layers, adding more for high-traffic areas.
-
Step 8: Apply Floor Finish: Optionally, a finishing layer over the wax enhances protection, reducing scratches and dirt buildup, and prolonging the wax's life.
-
Step 9: Buff the Floors: Finally, buff the waxed floors to remove dust and enhance shine. Regular buffing extends the wax's life; monthly for low-traffic areas, weekly for high-traffic zones.
Zip Code
Address
Google Map
Real Estate Listing
Map
Video